DIY Gift Wrap: How to Create Beautiful and Eco-Friendly Wrappings

Introduction:
Are you tired of using generic gift wrap that ends up in the trash after just a few minutes? Do you want to add a personal touch to your presents while also being mindful of the environment? Look no further! In this article, we will explore the world of DIY gift wrapping and discover how you can create beautiful and eco-friendly wrappings for your loved ones. Get ready to unleash your creativity and make gift-giving even more special!
I. Choosing Sustainable Materials:
When it comes to DIY gift wrap, one of the most important considerations is choosing sustainable materials. By opting for eco-friendly options, you can reduce waste and make a positive impact on the environment. So, what are some sustainable materials you can use?
-
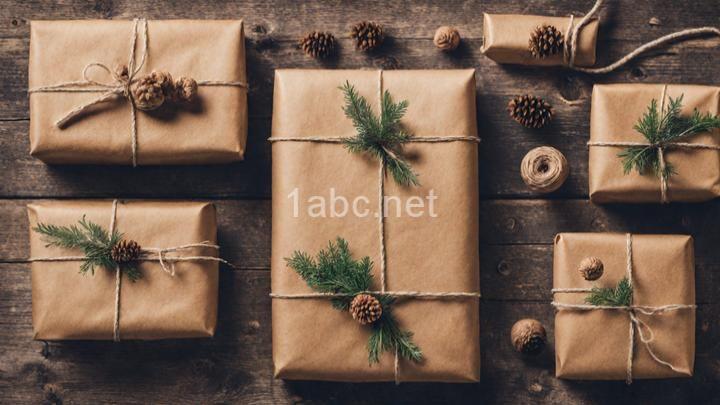
Recycled Paper: Instead of buying new rolls of wrapping paper, consider using recycled paper. There are many options available, from plain brown kraft paper to colorful designs made from recycled materials. Not only is this a more sustainable choice, but it also adds a rustic and unique touch to your gift wrap.
-
Fabric Scraps: Another great option is to use fabric scraps. You can repurpose old t-shirts, scarves, or even bedsheets to create beautiful and reusable gift wraps. Not only does this reduce waste, but it also adds a touch of elegance to your presents.
-
Natural Elements: If you want to take your eco-friendly gift wrap to the next level, consider incorporating natural elements. Leaves, twine, or even dried flowers can add a touch of organic beauty to your presents. Plus, you can easily find these materials in your own backyard or local park!
Now that you know the options, where can you find these sustainable materials? Local craft stores often carry recycled paper and fabric scraps. You can also search online for eco-friendly wrapping options. Websites like Etsy or Zero Waste stores have a wide range of sustainable materials to choose from. Remember, supporting small businesses and sustainable practices is a win-win!
II. Creative Techniques for Wrapping:
Once you have your sustainable materials ready, it's time to get creative with your gift wrap! There are many techniques you can try to make your presents stand out. Let's explore a few of them:
- Furoshiki: Originating from Japan, furoshiki is a traditional cloth wrapping technique. Instead of using paper, you use a beautiful piece of fabric to wrap your gifts. This technique not only looks elegant but also allows you to reuse the fabric for other purposes.
To furoshiki wrap a gift, start by placing the fabric diagonally on a flat surface. Put your gift in the center, then bring the two opposite corners together and tie a knot. Finally, tie the remaining corners to secure the wrapping. Voila! You have a unique and eco-friendly gift wrap.
- Origami-style Folding: If you enjoy the art of paper folding, why not incorporate it into your gift wrapping? Origami-style folding adds a touch of sophistication to your presents. You can create intricate designs such as cranes, flowers, or geometric shapes using origami paper.
To fold your gift wrap origami-style, start by choosing a square piece of paper. Place your gift in the center and fold the paper around it, creating neat corners and folds. You can find step-by-step instructions and video tutorials online to guide you through the process.
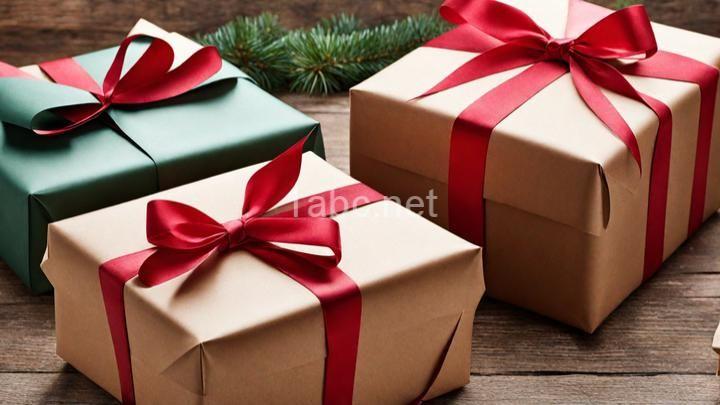
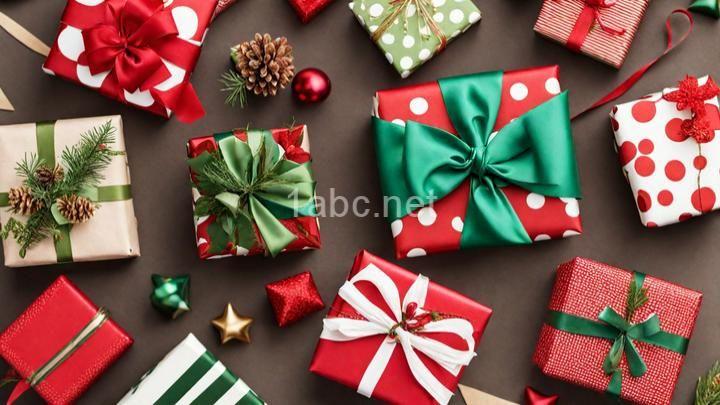
- Decorative Elements: Don't be afraid to add some decorative elements to your gift wrap! Ribbons, bows, and even dried flowers can make your presents look even more special. You can mix and match different colors and textures to create a unique and eye-catching design.
III. Adding Personal Touches:
In addition to the wrapping techniques, adding personal touches to your gift wrap can make it even more meaningful. Here are a few ideas to get you started:
-
Handwritten Notes: Take a moment to write a heartfelt note for the recipient. It can be a simple "Happy Birthday" or a longer message expressing your love and appreciation. This small gesture will show the recipient how much you care.
-
Custom-made Tags: Instead of using generic gift tags, why not create your own? You can use cardstock, recycled paper, or even old photographs to make personalized tags. Write the recipient's name or use a photo that holds a special memory between the two of you.
-
Incorporate Photos or Memories: If you want to make the gift wrap even more personal, consider incorporating photos or memories related to the recipient. For example, you can attach a photo of a fun outing you had together or include a small memento that holds sentimental value.
These personal touches not only make the gift wrap unique but also show the recipient that you put thought and effort into their gift.
IV. Tips for Professional-Looking Wraps:
Now that you have the sustainable materials and creative techniques down, let's make sure your gift wraps look professional. Here are a few tips to achieve clean lines, neat folds, and secure closures:
-
Smooth Out Wrinkles: Before wrapping your gift, make sure the paper or fabric is smooth and free from wrinkles. This will give your gift wrap a polished and professional look.
-
Secure with Double-Sided Tape: To avoid visible tape lines, use double-sided tape when sealing your gift wrap. This will give your presents a seamless and clean appearance.
-
Add Embellishments Strategically: If you decide to add embellishments like ribbons or bows, place them strategically to enhance the overall design. Make sure they are secure and won't easily fall off during transportation.
By following these tips, you can achieve professional-looking gift wraps that will impress your friends and family.
V. Environmental Considerations:
While DIY gift wrap is already a more sustainable choice, there are a few additional environmental considerations to keep in mind:
-
Reduce Waste: Instead of buying new wrapping materials every year, consider reusing materials from previous years. You can carefully unwrap presents and save the materials for future use. This not only reduces waste but also saves you money in the long run.
-
Opt for Reusable Gift Bags: Another eco-friendly option is to use reusable gift bags instead of traditional wrapping paper. These bags can be used year after year and eliminate the need for disposable materials.
-
Consider Alternative Gifts: Lastly, if you want to take sustainability to the next level, consider alternative gift options. Digital gift cards, experiential gifts, or donations to charitable organizations are all great alternatives that don't require physical wrapping.
Conclusion:
Congratulations! You are now equipped with the knowledge and inspiration to create beautiful and eco-friendly DIY gift wraps. By choosing sustainable materials, exploring creative techniques, adding personal touches, and considering environmental factors, you can make gift-giving even more special and meaningful. Remember, the most important thing is to have fun and get creative while keeping the environment in mind. Happy wrapping!
FREQUENTLY ASKED QUESTIONS
Why should I consider making my own gift wrap?
Making your own gift wrap can be a fun and creative way to add a personal touch to your gifts. There are several reasons why you should consider making your own gift wrap:
-
Personalization: By making your own gift wrap, you have the freedom to personalize it according to the recipient's tastes and interests. You can choose colors, patterns, and designs that are meaningful to them, making the gift even more special.
-
Cost-effective: Making your own gift wrap can save you money in the long run. Instead of buying expensive pre-made gift wrap, you can use materials you already have at home, such as plain paper, fabric scraps, or even old maps or newspapers. This not only reduces waste but also cuts down on unnecessary expenses.
-
Environmentally friendly: DIY gift wrap allows you to be more environmentally conscious. By reusing materials or using eco-friendly options like recycled paper or fabric, you can reduce your carbon footprint and contribute to a greener planet.
-
Creativity and uniqueness: Making your own gift wrap gives you the opportunity to unleash your creativity and create something truly unique. You can experiment with different techniques like stamping, stenciling, or even hand-painting to create one-of-a-kind designs that will impress the recipient.
-
Bonding and quality time: Making your own gift wrap can be a fun activity to do with family or friends. It provides an opportunity for bonding and spending quality time together, especially during the holiday season. You can involve kids in the process and let them express their creativity too.
Overall, making your own gift wrap adds a personal touch, saves money, promotes sustainability, allows for creativity, and creates memorable experiences. So why not give it a try and add an extra special touch to your next gift-giving occasion?
What materials can I use for DIY gift wrap?
When it comes to DIY gift wrap, there are plenty of materials you can use to add a personal touch to your presents. Here are a few ideas:
-
Kraft paper: This versatile and eco-friendly option is perfect for a rustic or minimalist look. You can decorate it with stamps, stencils, or even hand-drawn designs.
-
Fabric: If you have some scrap fabric lying around, why not repurpose it as gift wrap? Cut it into squares or rectangles and tie it up with a pretty ribbon or twine.
-
Newspaper: Give your gifts a vintage vibe by wrapping them in old newspaper. You can play around with different sections to create an interesting visual effect.
-
Brown paper bags: Don't underestimate the humble brown paper bag! Cut it open and use it as a unique wrapping option. Add some embellishments like ribbons, stickers, or even dried flowers for a charming touch.
-
Maps: Got some old maps lying around? Use them to wrap gifts for travel enthusiasts or for a touch of wanderlust. It's a creative and unexpected way to make your presents stand out.
-
Washi tape: This decorative tape comes in a variety of colors and patterns, making it a fun and easy way to jazz up plain wrapping paper or any other material you choose to use.
Remember, the possibilities are endless when it comes to DIY gift wrap. Get creative, have fun, and add your personal touch to make your gifts even more special.
How do I get started with DIY gift wrap?
Getting started with DIY gift wrap is a fun and creative way to add a personal touch to your presents. Here are some steps to help you get started:
-
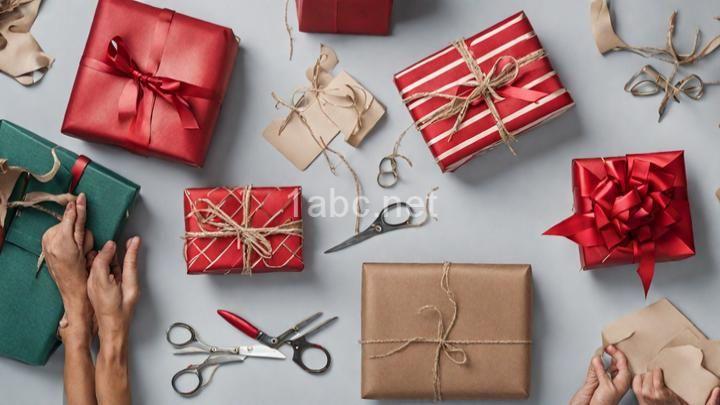
Gather your materials: Start by gathering all the necessary materials for your DIY gift wrap. This can include wrapping paper, scissors, tape, ribbons, bows, and any other decorative items you'd like to use.
-
Choose a theme or color scheme: Decide on a theme or color scheme for your gift wrap. This will help you create a cohesive and visually appealing look. You can choose anything from traditional holiday colors to bright and colorful patterns.
-
Measure and cut the wrapping paper: Measure the size of the gift you want to wrap and cut the wrapping paper accordingly. It's always better to have a little extra paper than not enough. Place the gift in the center of the paper.
-
Wrap the gift: Fold one side of the paper over the gift and secure it with tape. Then, fold the other side over and tape it down as well. Make sure the paper is smooth and tight around the gift to give it a neat appearance.
-
Add decorative elements: Now it's time to get creative! Add ribbons, bows, or any other decorative elements you have chosen. You can tie a ribbon around the gift and make a bow, or add some stickers or personalized tags.
-
Personalize it: If you want to make the gift wrap even more special, consider adding a personal touch. You can write a heartfelt message or use stamps or stencils to create custom designs.
-
Practice and experiment: Don't be afraid to try different techniques and experiment with your DIY gift wrap. The more you practice, the better you'll get at creating unique and beautiful wrapping designs.
Remember, DIY gift wrap is all about expressing your creativity and making your gifts extra special. Have fun with it and enjoy the process!
Are there any specific techniques or tips for DIY gift wrap?
When it comes to DIY gift wrap, there are several techniques and tips that can help you add a personal touch to your presents. Here are some ideas to get you started:
-
Custom Stamps: Create your own stamps using materials like erasers or potatoes. Carve a simple design on the surface and use paint or ink to stamp it onto the wrapping paper. This adds a unique and handmade look to your gift.
-
Embellishments: Get creative with embellishments like ribbons, bows, and decorative tape. Experiment with different colors and textures to make your gift wrap stand out. You can also add small trinkets, such as dried flowers or ornaments, for an extra special touch.
-
Hand-painted Designs: If you have artistic skills, consider painting your own designs on plain wrapping paper. Whether it's simple patterns or intricate illustrations, this technique will make your gift wrap truly one-of-a-kind.
-
Recycled Materials: Give a new life to old materials by using them for gift wrap. For example, you can wrap gifts in pages from old books, newspapers, or even fabric scraps. This not only adds a unique look but also promotes eco-friendly practices.
-
Personalized Tags: Create personalized tags using cardstock or recycled materials. Write a heartfelt message or use calligraphy to add an elegant touch. You can also include a small photo or a mini polaroid for an extra personal touch.
Remember, the key to DIY gift wrap is to have fun and let your creativity shine. Don't be afraid to experiment and try new techniques. Your recipients will appreciate the thought and effort you put into making their gifts extra special.


